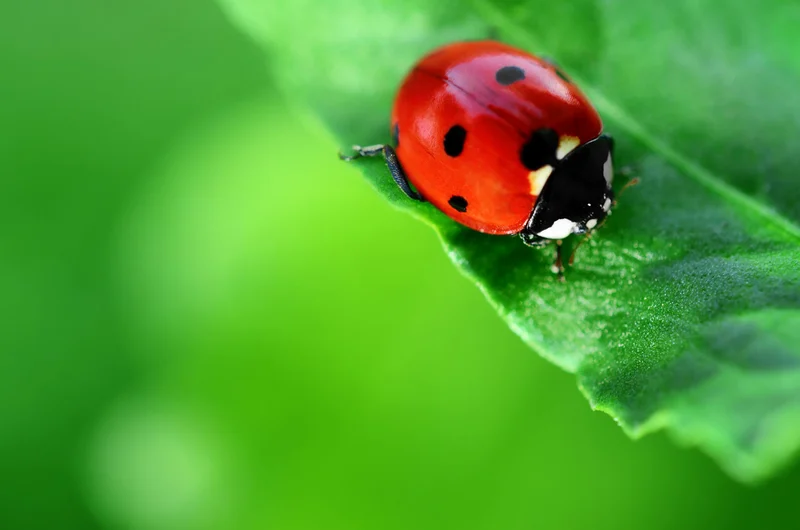
Let nature do the work.
Ladybugs are a fantastic and environmentally friendly solution to keeping aphids and other pests in check. Here are some tips and tricks for ladybug care and how to release them into your garden for best results.
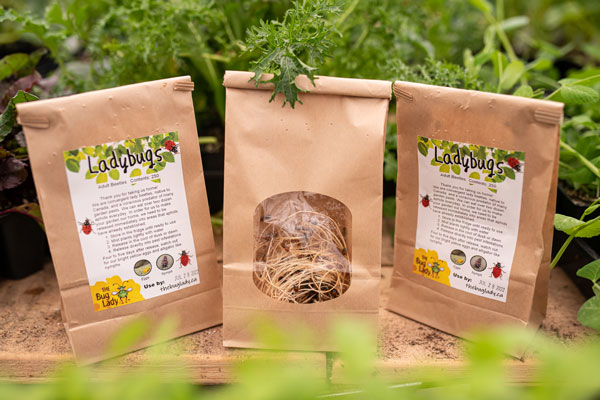
Storage
Ladybugs can be stored in the fridge until their date of expiry printed on the bag. However, try to release them within the first week of purchase.
How to Release
The first thing ladybugs require is moisture, so ensure you spray water on the leaves of the plants you are hoping to have them visit before they are released.
NOTE: If you have applied an insecticide to the affected plant within the last few weeks, you will need to clean the plant by spraying it with water prior to releasing ladybugs.
- Release ladybugs at dusk
- Remove the ladybugs from the fridge 30 min before releasing them to allow them to become active.
- Lightly mist inside of the ladybug bag before releasing them
If possible, cover the plants with a sheet or something similar for the first evening to encourage them to stay on the plant.
Be advised, some ladybugs will fly away, but the remaining ones will take care of the aphids. The only remaining thing to do is provide a water source for them by spraying the plant with water on days when there is no rain.
Precautions
Make sure you know what a ladybug larva looks like. They have elongated bodies that are orange and black and almost look like little alligators. These larvae will eat up to 10x more aphids compared to the adult ladybugs!
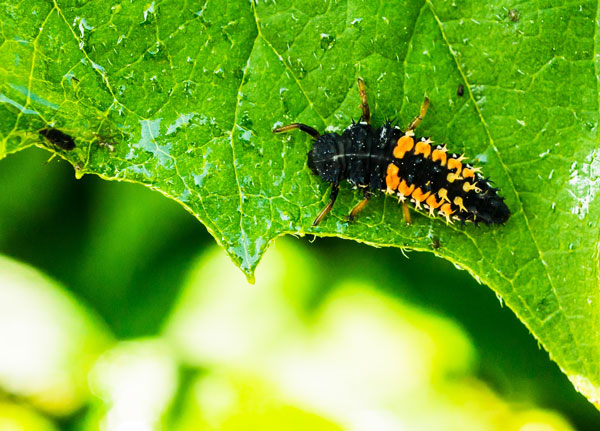
These larvae will molt and eventually transform into a ladybug.
Do not spray any pesticides on the plant while the ladybugs are active. If you would like to use a fungicide, do so approximately 48 hours before releasing the ladybugs to avoid adverse effects.